The Pico can be programmed in a number of languages.
This guide is for MicroPython – a Python implementation for micro controllers, and uses the Thonny editor.
Getting setup
First install micropython on the Raspberry Pi Pico:
Hold down the “Boot Sel” button on your Pico.
Connect the Pico to your PC using a USB Lead, then let go of the button.
Your Pico should appear as a USB drive called “RPI-RP2”.
On the USB drive is a weblink called “Index.htm” which you should click. This will take you to the Pico webpage.
Click on the Tab labelled “Getting Started with MicroPython” and follow the instructions. Download the UF2 and drop it onto the RPIRP2 drive.
Reboot your Raspberry Pi Pico by unplugging it. Once it is plugged back in it will not appear as a USB memory stick, but Thonny will be able to connect to it via the USB port.
Next install Thonny on your computer:
To create the code to run on the Pico we need to install Thonny on your computer. Thonny is a dedicated Python Editor which is used to send the working code to the Pico. Go to Thonny.org to download it and follow those install instructions.
Thonny connects to the Pico to program it via the USB port. It should auto detect the Pico when it is plugged in. Plug in your Pico with a micro USB lead to the computer before completing the rest of this guide.
Start Coding
Now we have both the tools and the Pico ready the next part of this guide will show you how to create and run a simple program.
Thonny is an Integrated Development Environment (IDE), which combines code editing, debugging and programming into a single application.

Thonny has 2 main areas – an editor window – were you can type and edit code and the Shell window – which reports back messages from the Pico. You can type code into the Shell window, but we will not cover that in this guide.
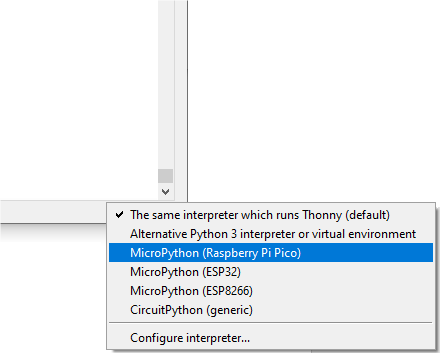
The Interpreter selection is a button that is used to select which variant of Python Thonny is working with. For use with the Pico this should be set to:
MicroPython (Raspberry Pi Pico)
To connect Thonny to the Pico:
After installing MicroPython on the Pico, plug the Pico in with a USB lead. In bottom right corner of Thonny select MicroPython (Raspberry Pi Pico)
The Pico has an LED near its USB connector which can be controlled from software.

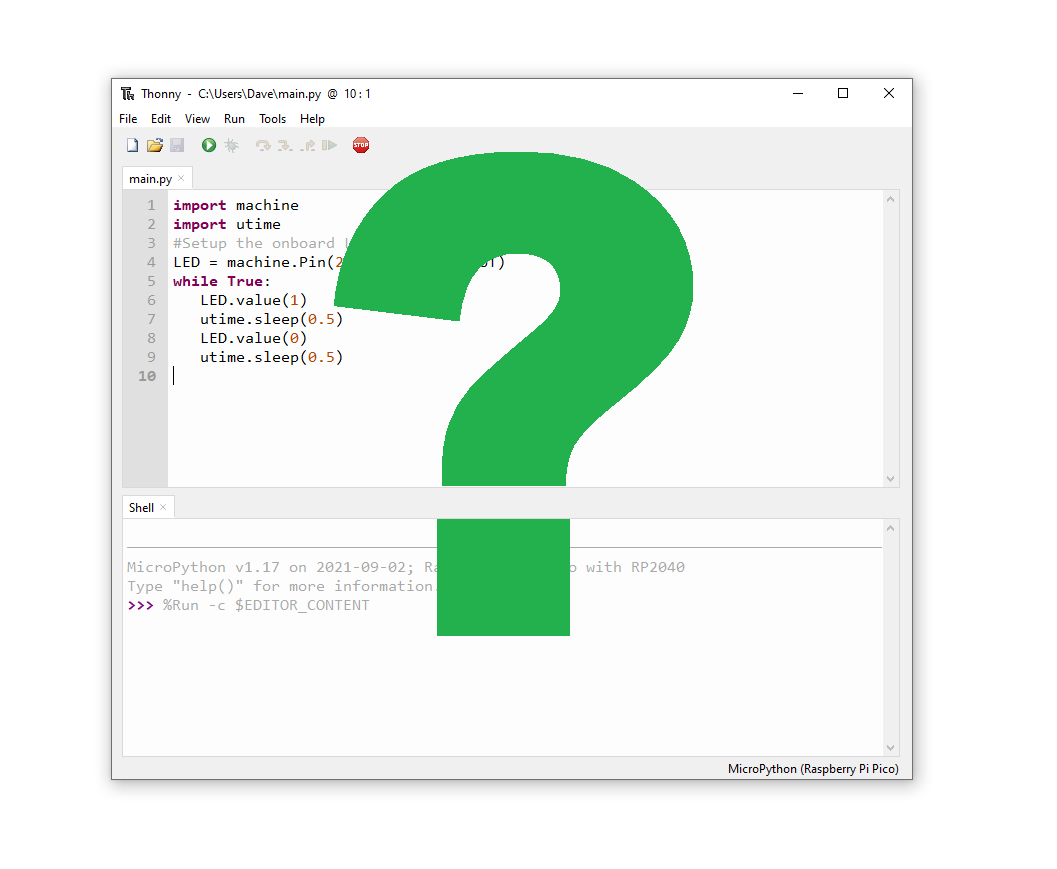
In the Thonny editing window create the following Code:
import machine
import utime
#Setup the onboard LED Pin as an output
LED = machine.Pin(25,machine.Pin.OUT)
while True:
   LED.value(1)
   utime.sleep(0.5)
   LED.value(0)
   utime.sleep(0.5)
Save the code. If your Pico is connected then Thonny will offer the option of saving it to the Pico or to your local computer.
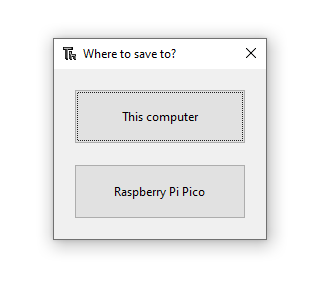
Once a file has been saved Thonny remembers where it saved it and does not ask again. The Pico has a limited amount of storage, but plenty for most projects, so generally you should save your files on the Pico.
If you call the file main.py then every time the Pico boots it will run the contents of main.py
This is useful if you want to write something that will run without having to connect a computer.
We have the computer connected, so call the file blink.py
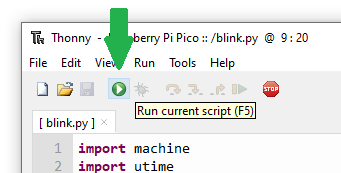
Having saved the file we can now run it.
Press the green ‘Play’ button.
In Thonny shell you should see a message saying the editor content is running:
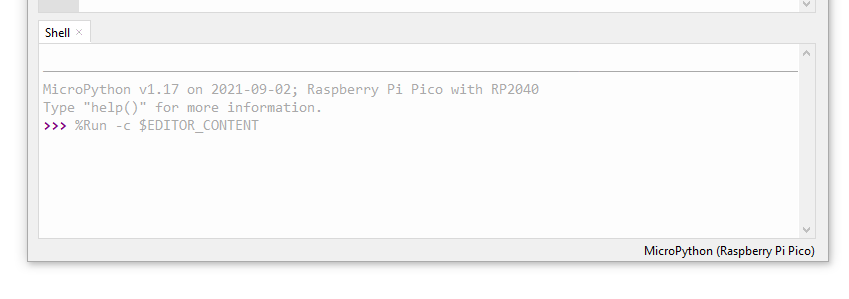
The onboard LED should now be linking on and off at 1/2 second intervals
Common Errors and Trouble Shooting:
There are many things which could go wrong when creating some code to run. In general an error is reported into the Shell window, with a description of what the error means. If the Pico is running without the shell connected then it may appear to just stop. This could be because an error has occurred and the Pico has tried to report it.
The following section has some of the more common errors.
‘Stop Error’
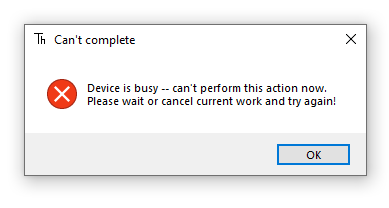
Because the code has a while True: loop once you start the code it runs forever. To change the code or save a new piece of code you may need to press the stop button.
If you try to save without stopping you may get this error box. The error box may also appear if you try to open a file whilst the Pico is running.
‘Import Error’
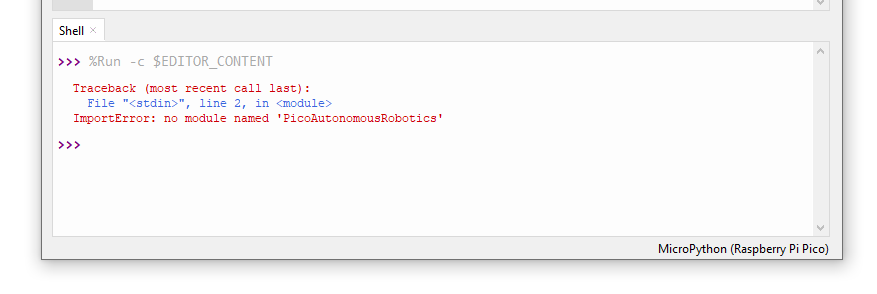
The error appears in the Shell window when you have a program that ‘imports’ a file and the file is not present on the Pico. It could also be misspelt, or the .py extension might be missing. See our guide to modules for more information
‘OS Error 5’
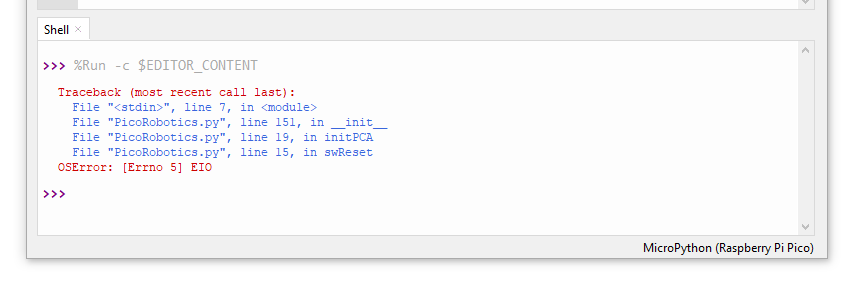
This error appears in the Shell window when the Pico is trying to talk to an I2C device, and the device does not respond. It is most likely to be seen when using the Kitronik Robotics Board for Raspberry Pi Pico. The most likely cause of this error is that the robotics board is not powered on.