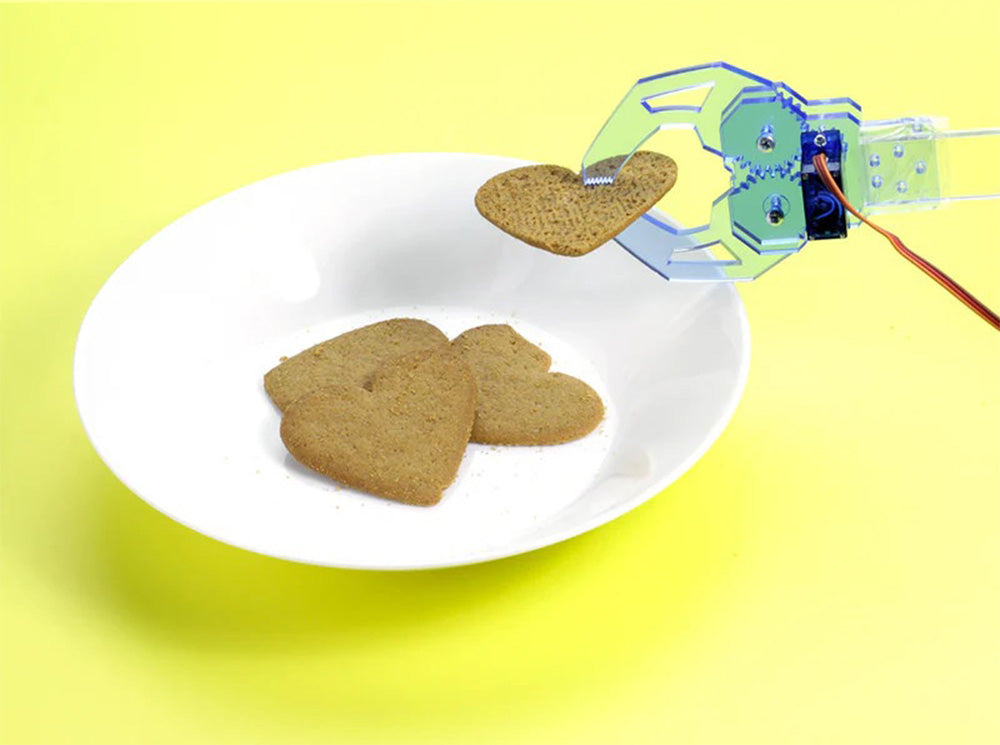
For the budding Roboteer, learning how to add and control actuators is a key skill. In this guide, we are going to take a look at our servo driven Klaw actuator,* and show you how to control it via code.
Because of the simulator in the MakeCode Editor, it is possible to learn to code and to test your code without any hardware at all. But if you want to actually build a robot, you’re going to need a couple of items. We’re going to learn in the MakeCode simulator first & then show how to get it working with actual hardware. Below is a list of the hardware we used for this guide;
- A BBC micro:bit.
- Kitronik Klaw MK2 Robotic Gripper Kit.
- Kitronik Simple Servo Control Board for BBC micro:bit.
- BBC micro:bit branded 30cm black USB cable.
- 3 x AA Batteries.
- A computer with USB inputs, MAC or PC.
- An internet connection.
*What is an Actuator?
In robotics, an actuator is a converter which typically converts electrical energy into mechanical energy, and this is usually triggered by either a coded instruction or user input. Actuators are not only found in robots, you can find them all over modern systems where they are often used to turn things on and off. Our servo powered Klaw is a great example of a robotics actuator, but instead of on/off it delivers open/close.
Method One – Coding 180 degree servos in the MakeCode Simulator:
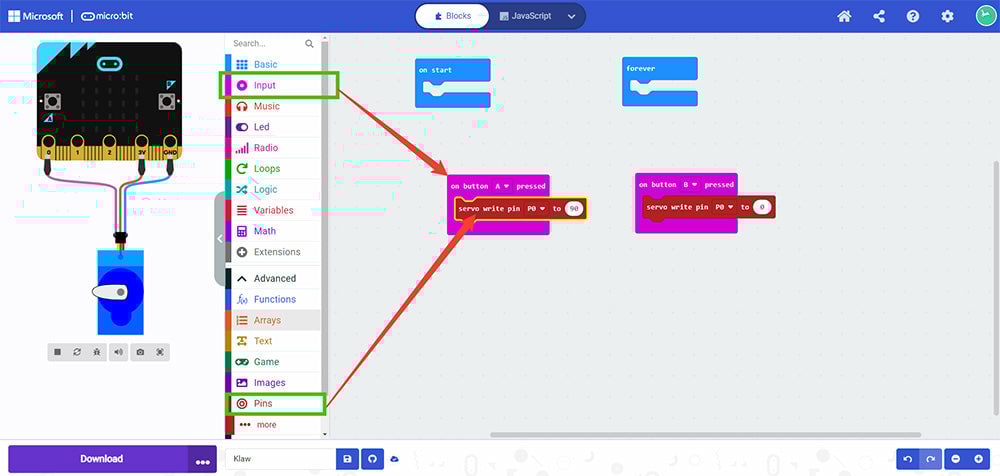
We are going to create a simple program in the MakeCode editor that will allow us to control the servo using the A and B buttons on the front of the micro:bit. When using this method, the simulator will add an animated servo that your code will control. Head to the MakeCode editor, then start and name a new project, then;
- In the Input menu, pick up the on button A pressed block and drop it into the workspace.
- Right click the block and select duplicate.
- Change the A to B on the duplicate.
- Click on Advanced in the blocks menu on the left.
- Then select the Pins Menu.
- Scroll down the menu to the servo write pin P0 to 180 block. Place one in each of the on button pressed blocks. You should now see that a servo has been added to the simulator
- Change the A value to 90 and the B value to 0.
- Test out the buttons.
The A button will make the servo move through 90 degrees, or half way through its full range of motion and pressing the B button will reset the servo to its staring position. Try experimenting with different A values between 0 and 180.
Method Two – How to write code for the Kitronik Klaw:
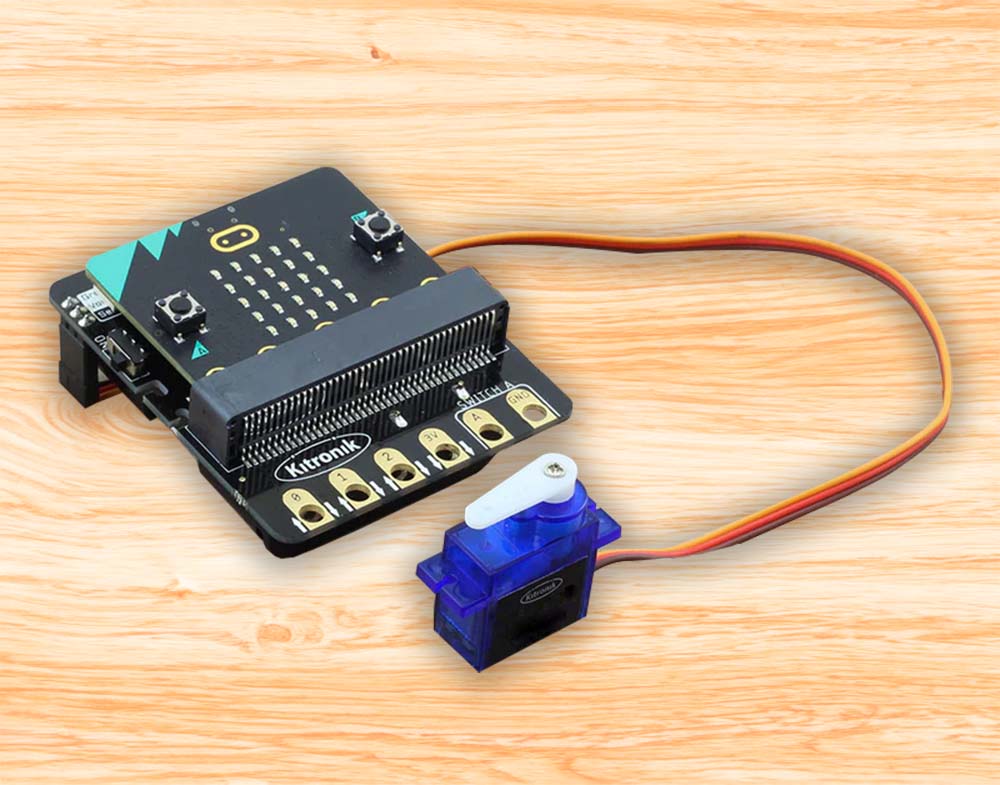
The items we’ve used for the is are in the list near the top of this resource. We’ll be using the Klaw, a micro:bit, and a simple servo control board. We will also need a USB cable and some AA batteries. The code will be very similar to the code we’ve already produced, only this time we will be using custom blocks in the MakeCode editor that we designed for use with the control board.
Putting it all together:
- Grab the instructions and build the Klaw.
- Connect the Klaw servo to the servo 1 pins on the servo control board.
- Pop three AA batteries into the back of the board.
- Connect the micro:bit to a spare port on your computer. It should now show up as a removable drive on your computer.
We wont connect the micro:bit to the servo control board until we have code that we are ready to test. We are now ready to begin writing our code.
Writing the Code:
Head back over to MakeCode and begin and name a new project.
Before we can proceed we need to add the custom Kitronik Simple Servo blocks to the editors block menu;
-
 Click on the cog icon, in the top right of the editor.
 - Select ‘Extensions’, from the drop down list.
- Type and Enter Kitronik into the search bar on the page.
- Look for kitronik-simple-servo and select the tile.
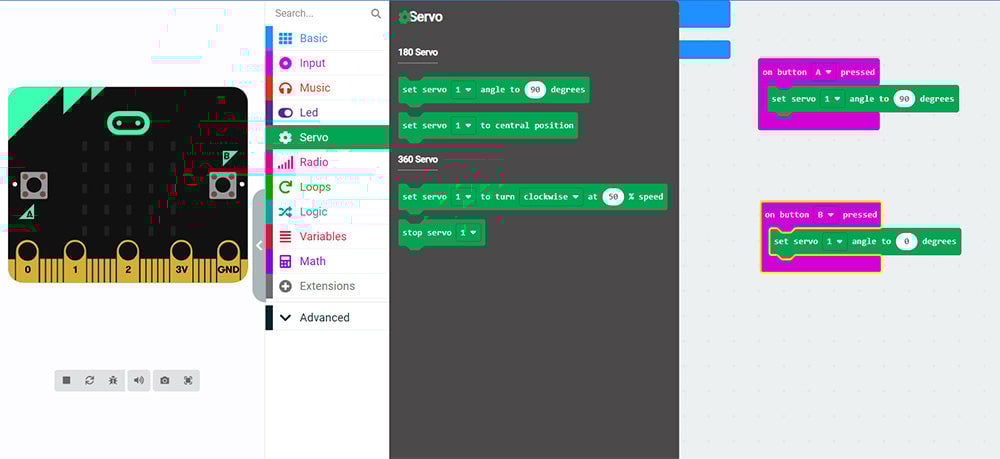
You should now have a new menu heading in the editor called Servo. If you look inside, you will see 4 new blocks, 2 for use with 180 degree servos and two for use with 360 degree servos. To create the code;
- Pick up the on button A pressed block and drop it into the workspace.
- Right click the block and select duplicate.
- Change the A to B on the duplicate.
- Click on Advanced in the blocks menu on the left.
- Click on the new Servo menu and select the servo 1 angle block from the 180 degree options.
- Place one in each of the on button pressed blocks.
- Change the button A angle to 90 and the button B angle to 0.
- Note: How the Klaw was assembled will have a bearing on the value for degrees in the above step, but this is a good starting point.**
That is the coding complete, future tweaking notwithstanding. As we can’t fully test our custom block code in the simulator, we will need to run our code on our hardware setup in order to see if the code works or not.
Download and run the code on the micro:bit:
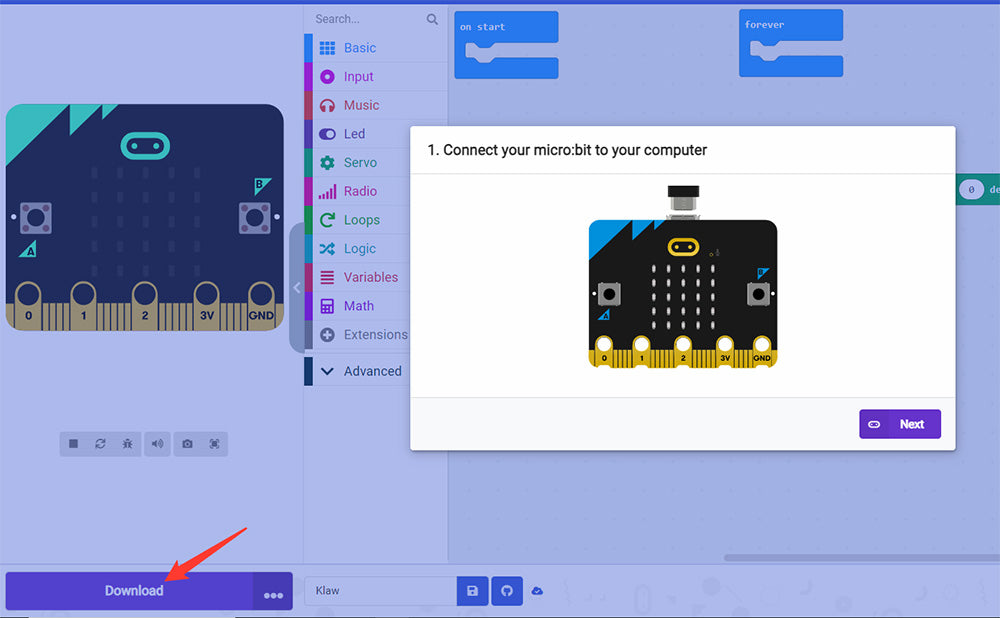
Firstly, if the micro:bit isn’t already connected to a USB port on your PC/Mac/Laptop then lets get it all hooked up now. Now we need to get the code from the editor and onto the micro:bit.
- Click on the purple download button, in the bottom left of the editor.
- Work through the prompts that appear in the pop-ups and advance through them by pressing the next button.
When the program is being transferred to the micro:bit, the transfer status LED on the rear of the micro:bit will blink on and off until the transfer is complete.
As the simple servo control board is battery powered, the micro:bit can be unplugged from the computer. Now you can test out your code and setup by pressing the A button and the B button on the micro:bit. The Klaw should now be opening and closing on demand. **You may need to go back to the editor to tweak the angles to get everything exactly as you want it. Each time you tweak the code, you’ll have to get the new code onto the micro:bit, follow the same process and the old code will be overwritten by the new.
Once you have it fully working, you may want to try experimenting with operation and maybe reverse the buttons. There are lots of ways in which you might incorporate Klaw into your projects, we’ve attached them to the front of buggies but the possible applications are endless.