In this quick and simple resource, we share a Laser Cut stand for STOP:bit and/or LAMP:bit. The stand will make them more sturdy when being deployed in the classroom or in a project. They are super easy to make and work well!

For those times when you are trying to build your miniature city street grid but your knees, elbows and sleeves say no! We’ve all been there, I know I have, but not any more. As always, we’ve provided the design file that you can download and take straight to the laser cutter. Although we used Perspex/Acrylic, you can choose any material that fits your project that is also laser friendly.
You Will Need:
- Access to a laser cutter.
- A suitable Perspex Sheet. (any colour, 3mm thickness recommended)
- A Kitronik STOP:bit/LAMP:bit.
- Clear glue.
- Small cable tie or twist tie, cable tie being the easier/better option.
- Our DXF design file.
Make A Laser Cut Stand For STOP:bit:
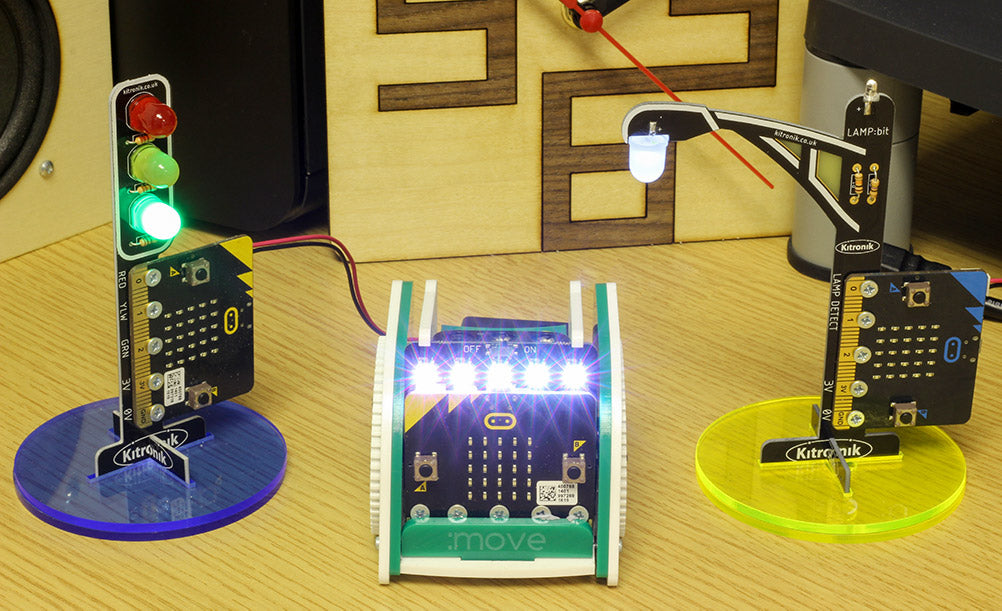
On our BETT stand this year we had mock city, complete with a working bridge, clock, London Eye, streetlights and also STOP:bit traffic lights. We made the stands to ensure that the lights would stay upright in the face of so many potential visitors. Also, since we got back we have seen a number of shared videos of student city builds that would have been easier if they had sturdy basses available. There has also been the odd request for them too.
We created our simple design with Autocad, though any CAD software would have been suitable. As long as it can produce a file that your laser cutter can use, that’s all you need.
Choosing A Material And Laser Cutting:

We found that 3mm works well. We tend to go with Perspex for our builds as it is easy to work with on the laser cutter and produces good results every time. If you want to paint your bases, and who doesn’t, then Plywood or MDF is also a great option.
Once you’ve chosen your material, take the file to your laser cutter and cut out the two parts. As you can see, the two parts are not identical, one has a single slot cut from it and the other has a cross and two small holes.
Assembly:

Once cut, the two parts then need glueing together. It is important that the two parts are lined up correctly when they are glued together. The circle with the single slot will be the bottom of the stand and the two small holes should be lined up so that they are accessible through the slot. See the picture below. Now glue the two circles together.

Now that the two parts are glued together, we can fix a LAMP:bit or STOP:bit to the stand. Once you have the STOP:bit sat in the stand, pass the cable tie over two of the legs before feeding the ends through the holes to the underside of the stand. Ensure that it is nice and tight and then trim the tie enough so that it can be tucked into the slot. If the cable tie is a little big for this application, you can have the gripping portion on the other side of the board.

If you are going to trim from underneath, the cable tie should look similar to the picture below from above.

You should now be left with something that stands firmly on a flat surface. It isn’t completely elbow proof, but what is!

In Conclusion:
That, essentially, is that! As was mentioned earlier, you can easily customise your stands by painting. You could also laser etch a design onto the surface, maybe a school logo or student name. But even as is, they make the job of mocking up a city street much less frustrating. STOP:bit wobble but they don’t fall down!