Microcontrollers; what are they, what do they do, and how do you use one? Using the Raspberry Pi Pico and BBC micro:bit for reference, we will answer all of these questions and more!
You will learn;
-
- What a microcontroller is.
- What are they typically used for?
- What Kits can introduce you to working with microcontrollers.
- Last but not least, how you begin your voyage of discovery. (learn how to use an editor and then transfer your code to a microcontroller and run it.)
You can download this guide as a PDF here.
What is a Microcontroller?
In this video, Alasdair gives us a brief overview of the microcontroller.
[youtube https://www.youtube.com/watch?v=II6EGzGX81o]
Microcontrollers are simplified computers on a single IC chip. They have the capability to read input data, process it, and then perform an action defined by the program that is running on it. They are usually used to run these single pre-programmed operations over and over again as part of a larger system.
These systems are called embedded systems and the modern world relies on them heavily. They are in everything from toys to vehicles, and everything in between.
The main elements of a microcontroller are;
-
- The Processor.
- The Memory. Both program and also short term data memory.
- I/O.
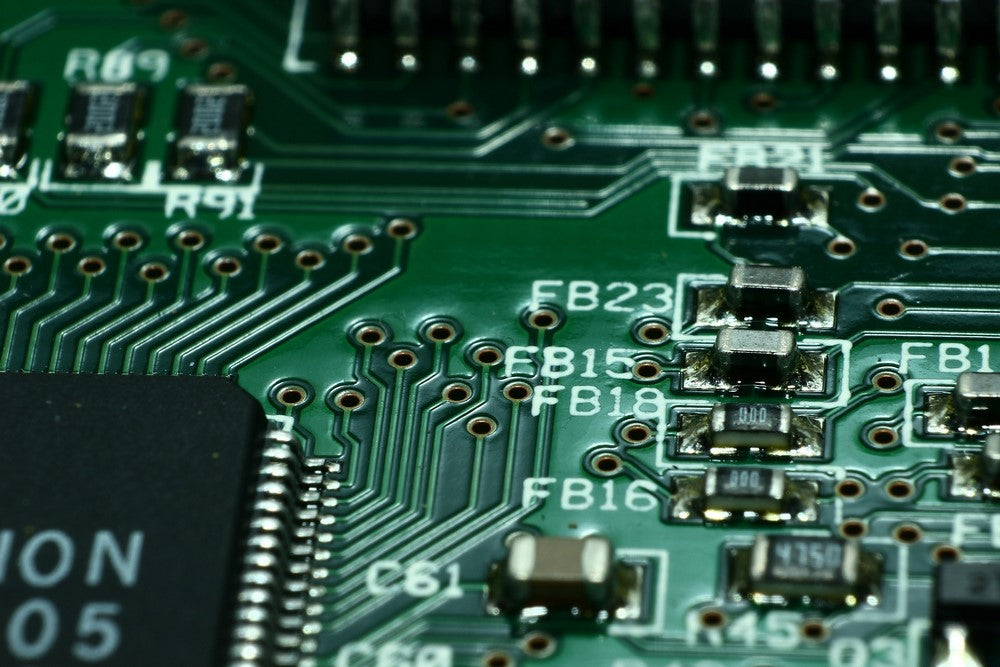
Boards such as the Raspberry Pi Pico are a convenient way of packaging a microcontroller. The system remains small, there is typically a programming port, and the user also has convenient access to all of the IC chips I/O. You can think of the board as a rudimentary user interface.
The boards can be programmed for any number of simple or complex tasks. Often the programs are as simple as, ‘if this, then that’. The boards respond to something external and then perform an operation which then often results in an output.
What Are They Typically Used For?
An example of something simple would be a microcontroller that determines when it is safe to allow a machine to start working based on all of the safety guards being in place. When the on switch is activated, the program receives status information from all of the safety features, simple logic is applied, and the microcontroller either allows the machine to run or not. It’s as simple as some switches and a program that uses an AND function.
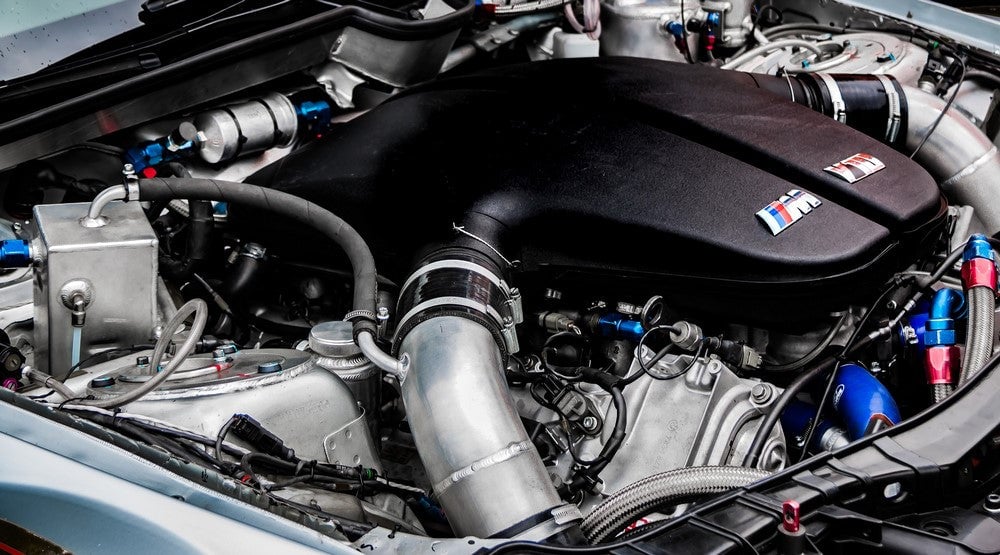
An example of a more complex system would be an ECU in a car, in which there may be several embedded systems. It collects data from sensors all over the engine and uses this to control a number of actuators to ensure that everything happens when it’s supposed to. You can often tweak this via tuning software to increase the performance of your engine, or decrease it if you don’t know what you’re doing 🙂
We are surrounded by these types of systems. They are in our homes, vehicles, as well as our places of work.
Hands-On Example Available For You To Experiment With Pt. 1:
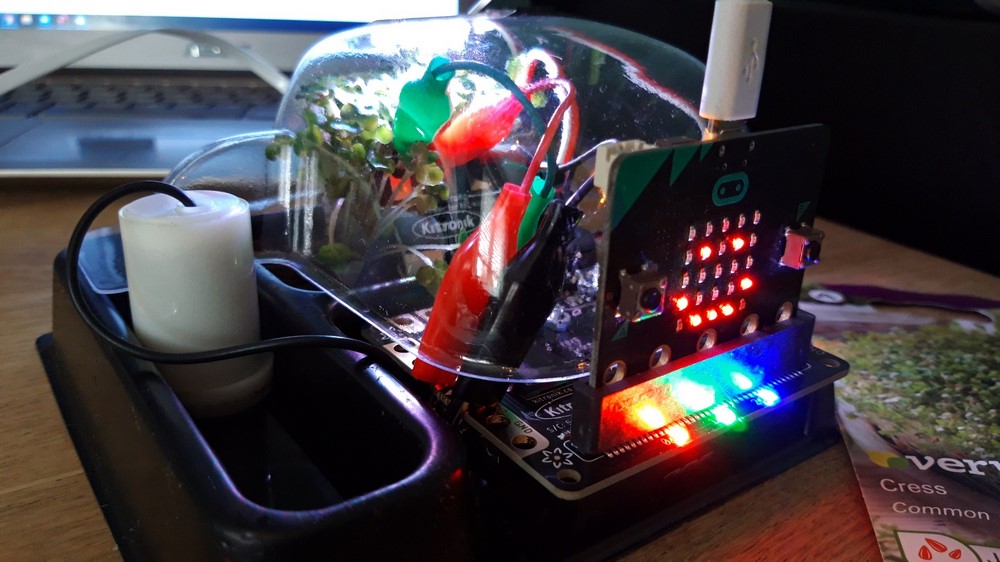
The Kitronik Smart Greenhouse Kit for the BBC micro:bit is a great example of a product that you can use to learn how to program a microcontroller to automate an entire system. In this example you can think of the micro:bit being the microcontroller. It is connected to a handful of sensors and an RTC (real-time clock) via the Kitronik Environmental Control Board.
The control board has sensors built-in, with the facility to add more, such as a Soil Moisture Sensor. You can code the micro:bit to read all of the incoming data from the sensors and then to make decisions on what to do based on the parameters you set within your program. The program can ‘decide’ when to water the plants and when to turn the lights on, the user is only required to add seeds at the beginning and harvest the crop at the end. The bit in between is fully automated and continuous.
The system can be made more self sufficient with the addition of rechargeable batteries and a solar cell. The board has a built-in charging circuit that will trickle charge the batteries for as long as there is sufficient sun light. As long as you keep the water reservoir topped up, the system will care for your crop in line with its programming until you get it stop.
Experiment: Compile a list of commands that take care of watering and lighting your crop as it grows. You can utilise time, soil moisture, ambient temperature and light level. This will form the framework for your eventual code.
Hands-On Example Available For You To Experiment With Pt. 2:
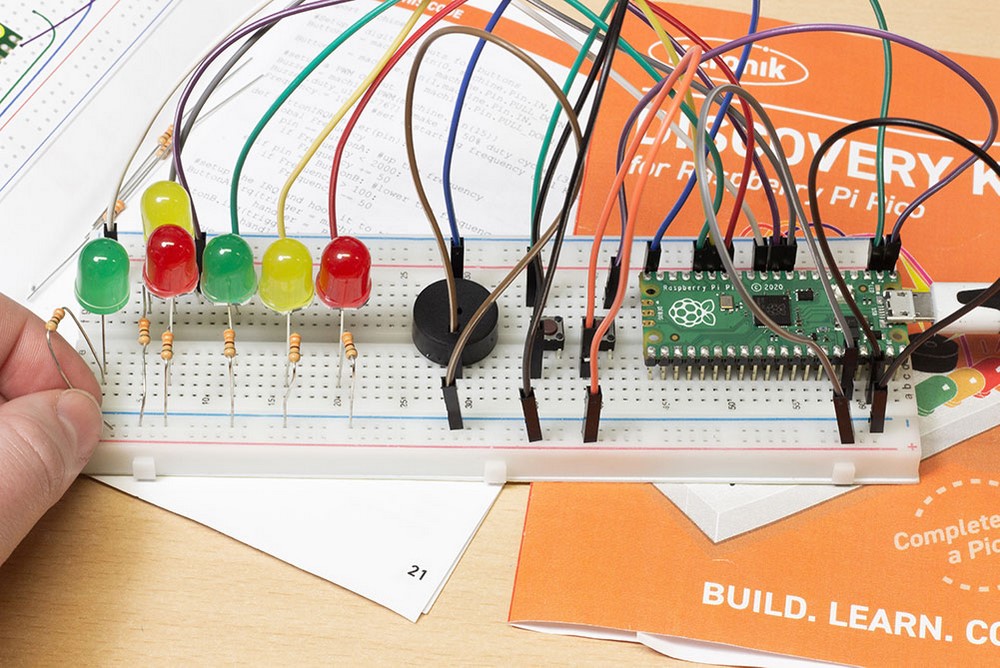
The Kitronik Discovery Kit for Raspberry Pi Pico great way of learning how to use microcontrollers. Aimed at the beginner, it introduces you to writing code, processing input, and also defining an action/output based on the input.
The kit is supplied with all of the components needed to complete the 7 included experiments, including a large-format breadboard. The seven experiments take you from the basics of using the board through to more advanced concepts and using external electronics. The experiments cover key concepts of microcontrollers, such as; basic setup, simple coding, Interrupts, Threads, Digital Inputs, and Analog and Digital Outputs.
Your First Steps With The Raspberry Pi Pico:
If you have a Raspberry Pi Pico but don’t know how to get going then this short guide is for you. We’ll show you how to prep the Pico, install a suitable editor, and then how to write and run your first program. Let’s do this…
Install micropython on the Raspberry Pi Pico:
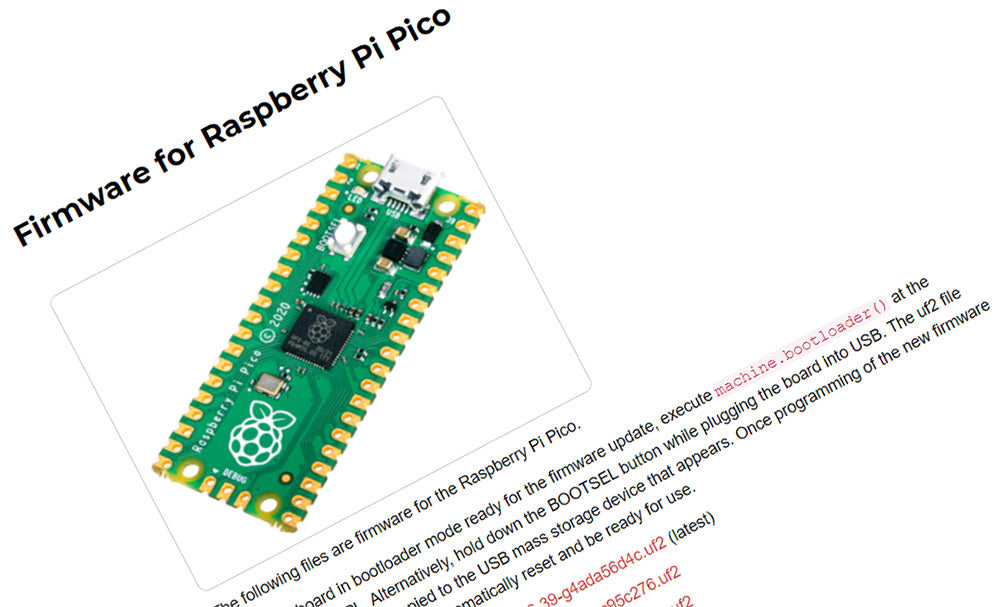
- Hold down the “Boot Sel” button on your Pico.
- Connect the Pico to your PC using a USB Lead, then let go of the button.
- Your Pico should appear as a USB drive called “RPI-RP2”.
- On the USB drive is a weblink called “Index.htm” which you should click. This will take you to the Pico webpage.
- Click on the Tab labelled “Getting Started with MicroPython” and follow the instructions. Download the UF2 and drop it onto the RPIRP2 drive.
- Reboot your Raspberry Pi Pico by unplugging it. Once it is plugged back in it will not appear as a USB memory stick, but Thonny will be able to connect to it via the USB port.
Install Thonny on your computer:
- To create the code to run on the Pico we need to install Thonny on your computer.
- Thonny is a dedicated Python Editor which is used to send the working code to the Pico. Go to Thonny.org to download it and follow those install instructions.
- Thonny connects to the Pico to program it via the USB port. It should auto-detect the Pico when it is plugged in.
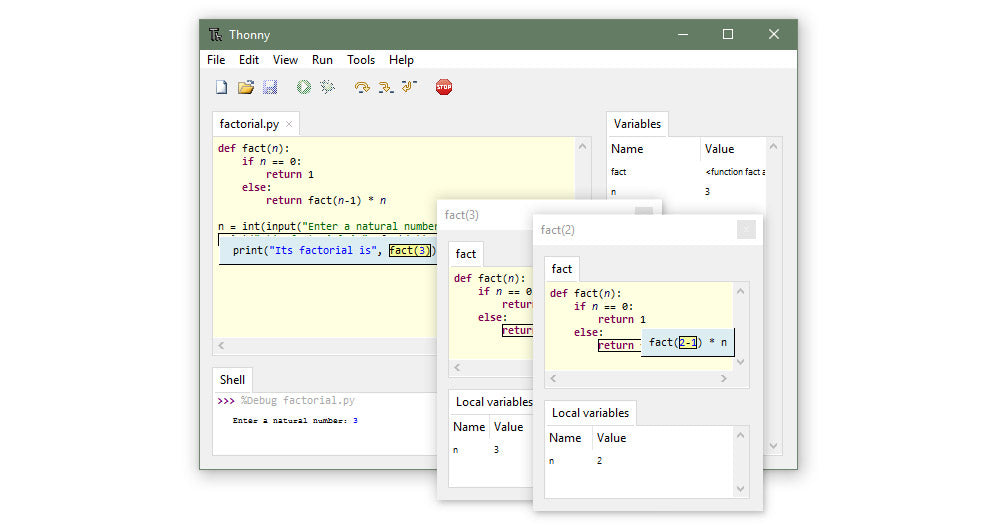
After installing micropython on the Pico plug the Pico in with a USB lead. In the bottom right corner of Thonny select MicroPython (Raspberry Pi Pico).
We now have everything we need to write our first program and then run it on the Pico. The Pico features an LED on the board which is programmable. We are going to learn how to take control of this LED with some simple code.
Firstly, in Thonny, create the following code;
import machine
import utime
#Setup the onboard LED Pin as an output
LED = machine.Pin(25,machine.Pin.OUT)
while True:
LED.value(1)
utime.sleep_ms(500)
LED.value(0)
utime.sleep_ms(500)
Click the run button. Then, choose to save to the Pico when prompted. When naming your file, always ensure that you also add the .py extension to your file name. for example, blinkled.py.
Further Learning:

The simple program above is included in the Kitronik Discovery Kit for Raspberry Pi Pico, it serves as a primer for the experiments that follow. This simple and inexpensive kit is an excellent starting point for learning how to code and also how to connect the microcontroller to other devices. We do two versions of the kit, with the Pico included and with the Pico not included, see below;
Kits;
Resources;
-
- Get started with MicroPython on Raspberry Pi Pico.

- Raspberry Pi Pico frequently asked questions (FAQ)
- More information on the Pico.
- About MicroPython.
- About Python.
- The Thonny editor.
- Raspberry Pi pico Datasheet.
- RP2040 Datasheet.
- Additional Pico Discovery Kit Experiments (online only)
- Get started with MicroPython on Raspberry Pi Pico.
If you enjoyed this guide, make sure you don’t miss out on any other new free learning resources by signing up for our newsletter here.