If you are new to the Pico, and Python development, check out Raspberry Pi’s guide to get you started
Kitronik have also written a First Steps Tutorial to get you started using the Pico with the Thonny Editor.
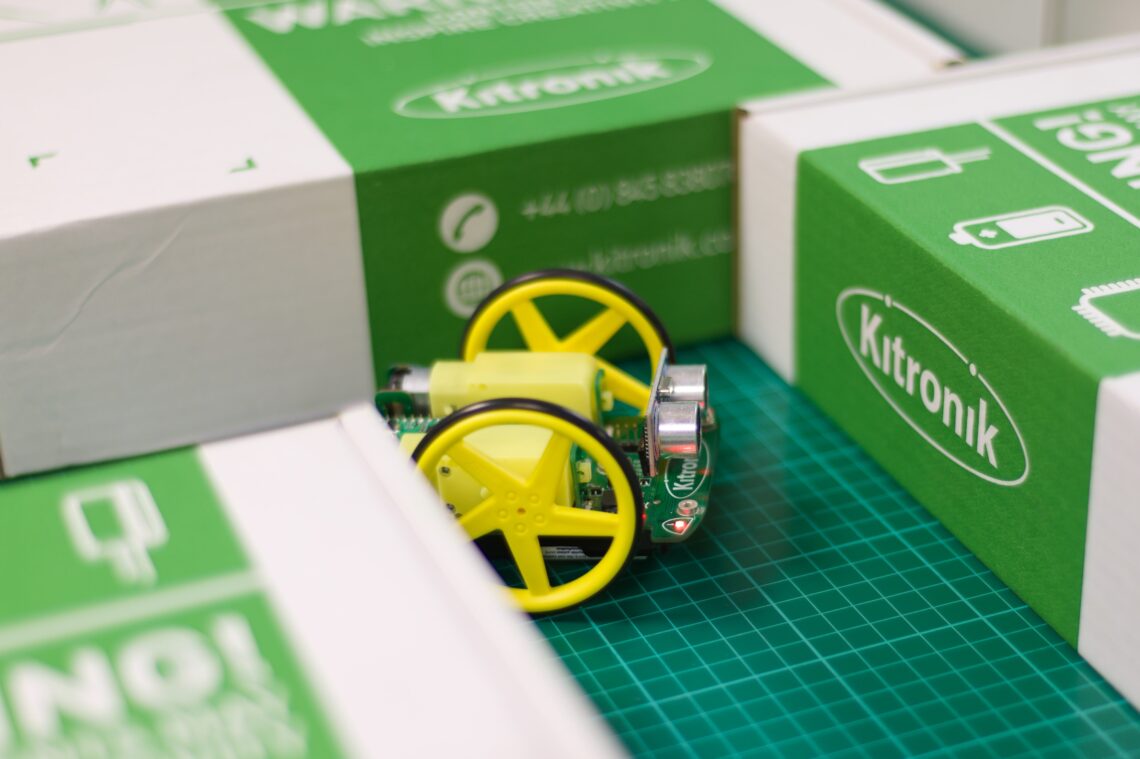
Getting the Autonomous Robotics Code
Kitronik have written a module to use with the Autonomous Robotics Platform which is available, along with sample programs, in the Kitronik GitHub.
If the words “Clone the repo” mean nothing then check out our guide to git
If you are new to using modules with the Pico, there is a helpful guide providing practical examples and explanations on how to do so.
Clone or download the repository and then copy / save the PicoAutonomousRobotics.py file to your Pico.
Plugging in the Ultrasonic Sensor
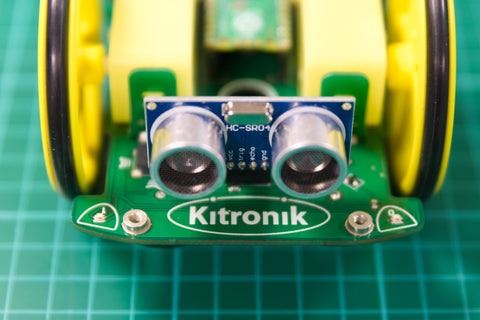
The Autonomous Robotics Platform (ARP) provides 2 connection points for standard HC-SR04 Ultrasonic modules, one at the front and one at the rear of the buggy.
The ARP is supplied with a single HC-SR04 Ultrasonic sensor as standard.
If an ultrasonic is not fitted then the distance measurement is always -1, so code can check for and know that there is no module fitted.
This tutorial assumes that the Ultrasonic module is fitted to the front socket, so the USB cable to the Pico can be left connected.
Firstly, we will display the measured distance in the Thonny Shell window.
Ensure the Ultrasonic sensor is plugged in then create the following code:
from PicoAutonomousRobotics import KitronikPicoRobotBuggy
from time import sleep
buggy = KitronikPicoRobotBuggy()
while True:
   frontDistance = buggy.getDistance("f")
   print("Front Distance:", frontDistance)
   sleep(1)
This code will print out the distance measured every second.
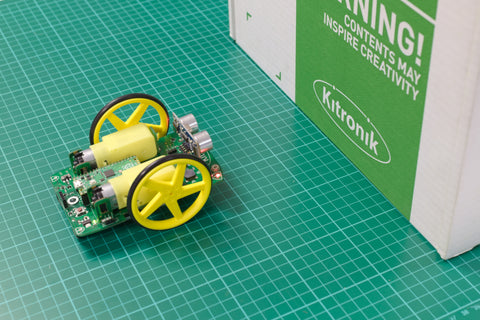
Position the ARP on a flat surface, with the Ultrasonic module plugged in, and with the ARP Box about 10 cm from the front of the ARP. Keep the Pico connected to Thonny with the USB lead.
Run the code.
In the Shell window in Thonny you should see the distance reported every second:
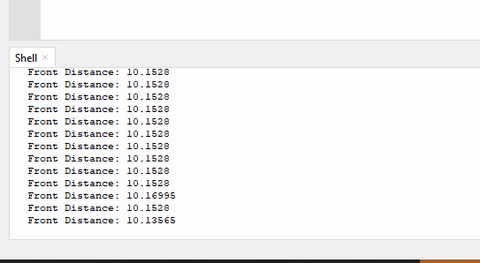
Move the box towards and away from the ARP. The distance reported should change, getting smaller and larger as the box moves.
The Ultrasonic measures by sending out a high frequency ‘beep’ (above the normal range of hearing for a human) and then measuring the time it takes to hear the echo of that ‘beep’. Because sound travels at a certain speed (approx 340m per second) the time take to hear the echo relates to the distance travelled. The code inside the PicoAutonomousRobotics.py file does the calculation and returns the answer as a distance.
Controlling the Lights
We can use the distance to control the onboard ZIP LED colour, and so create a sort of ultrasonic tape measure.
The Ultrasonic sensor can measure from about 2cm to about 2m. Taking the distance and converting it to RGB values we can use the colour to indicate the distance.
Create and run the following code:
from PicoAutonomousRobotics import KitronikPicoRobotBuggy
buggy = KitronikPicoRobotBuggy()
while True:
    distance = buggy.getDistance("f")
    if(distance < 1):
        red_channel = 0
        green_channel = 0
        blue_channel = 0
    elif(distance < 51): #0-50
        red_channel = 255
        green_channel = 5*distance
        blue_channel = 0
    elif(distance < 101): #51-100
        red_channel = 255-(5*(distance-51))
        green_channel = 255
        blue_channel = 0
    elif(distance < 150): #101 - 150
        red_channel = 0
        green_channel = 255
        blue_channel = (5*(distance-101))
    elif(distance < 201): #151-200
        red_channel = 0
        green_channel = 255-(5*(distance-151))
        blue_channel = 255
    else: #over 200
        red_channel = 0
        green_channel = 0
        blue_channel =255
    buggy.setLED(0,(int(red_channel),int(green_channel),int(blue_channel)))
    buggy.setLED(1,(int(red_channel),int(green_channel),int(blue_channel)))
    buggy.show()
This code will change the colour of the front LEDs depending on the distance, starting at red when close, through yellow, green, cyan and blue for distances over 2 meters.
If you have a second Ultrasonic sensor, try extending the code to read the rear distance and use that to control the colours of the rear ZIP LEDs.
Check out the FreeRoaming.py file (also in the repository on GitHub) for code that enables a robot to free roam at random using the ultrasonic sensors to avoid obstacles.
Coding Resources for Pico-ARP:
| Online Tutorials – Pico ARP. |
|---|
| Using the Motors. |
| Using the Buzzer, Button and Lights. |
| Using the Line Following Sensors. |
| Using the Ultrasonic Sensor. |
| Using the Servo connections. |