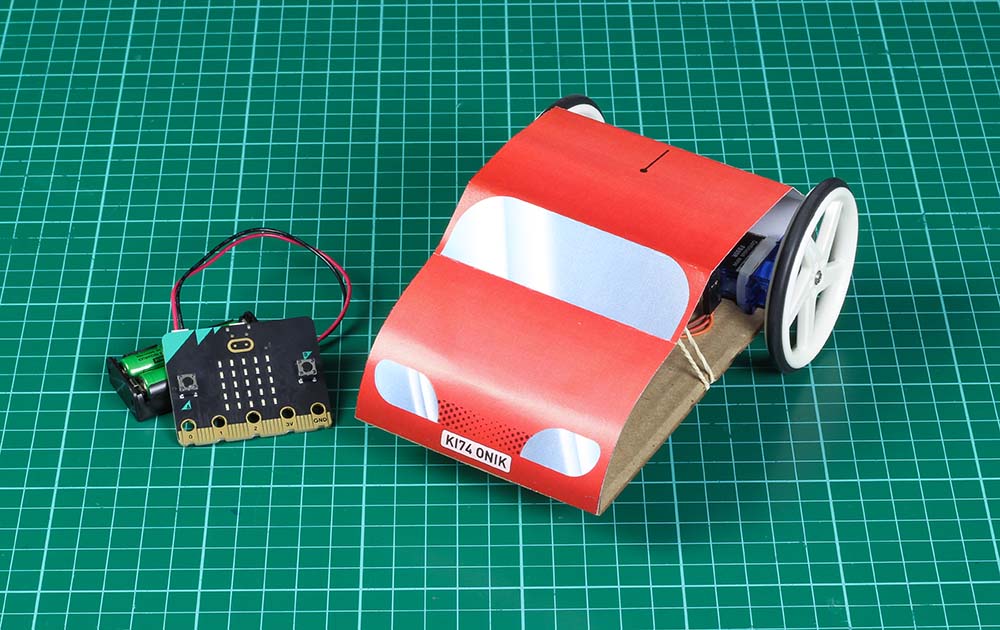
Fourth in the Simple Servo Kit make series is a fun little remote control car! Using the radio functions on the BBC micro:bit you will make the two servos respond to various inputs on a micro:bit being used as a remote control.
Follow Emma’s process and make your own simple radio controlled car for the BBC micro:bit.
See the other makes in the Simple Servos Starter Pack series:
- Clap-O-Meter.
- Carousel.
- Swingboat.
- Remote Control Car.
We Have Used:
- Kitronik Simple Servos Starter Pack for BBC micro:bit
- BBC micro:bit
- 2 x 360 degree servo.
- Cardboard
- Ping Pong (Table tennis) ball.
- 2 x Cable ties.
- An Elastic Band
- Glue or Tape
- This PDF & DXF (The ZIP contains the PDF, 2 x DXF, and 2 x HEX files)
Step 1 – Cutting out the car parts:
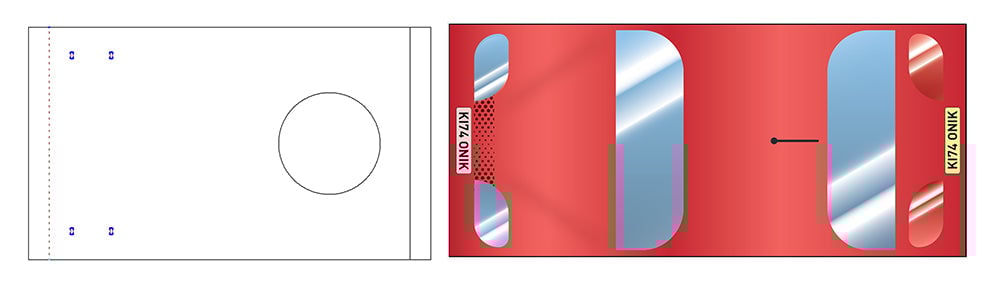
There is a base to either laser cut from cardboard or print and cut with scissors, so this part is on both a dxf and the pdf. The printable body of the car is on the pdf also, so you can print and cut this.
NOTE: You can design your own car, and we suggest putting a boot (trunk) on it for easier access to the micro:bit.
Step 2 – Attaching the servos:
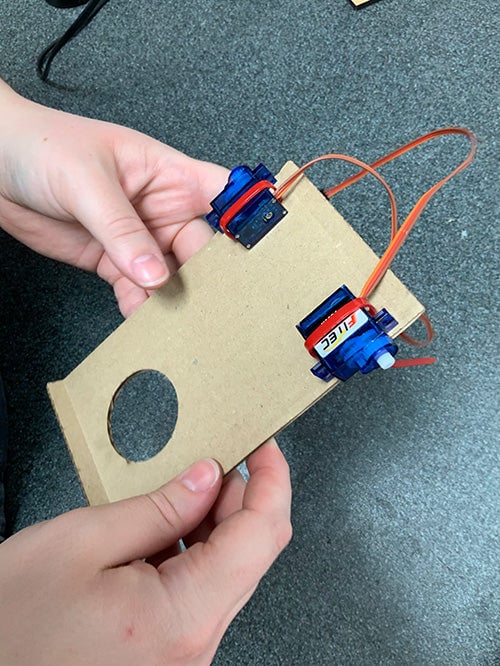
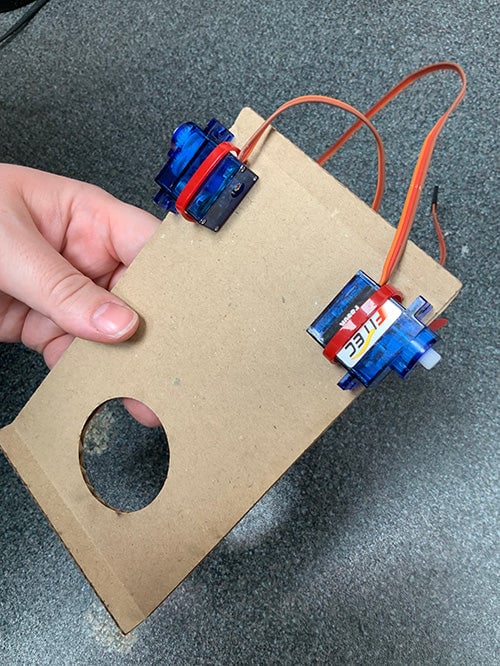
Attach two 360-degree servos to the base using zip ties through the small holes at the back of the base, with the output shafts pointing outwards.
Step 3 – Adding the front ‘wheel’:
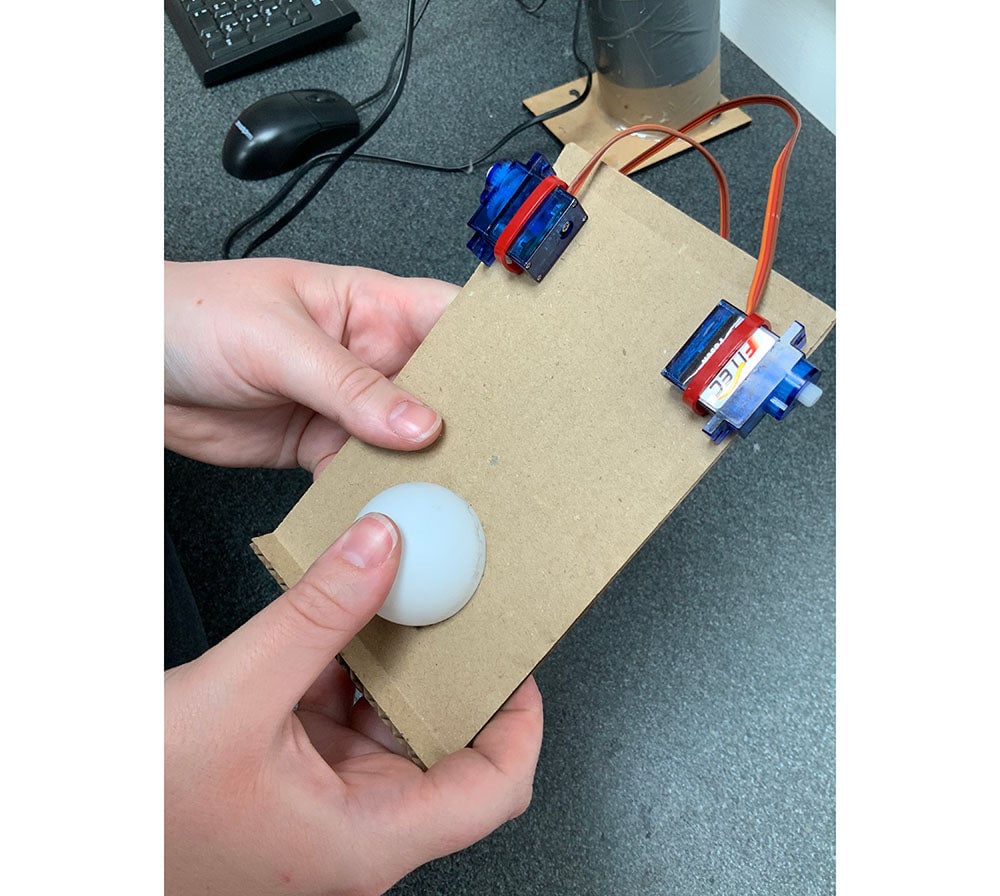
Push a ping pong ball into the hole at the front of the chassis.
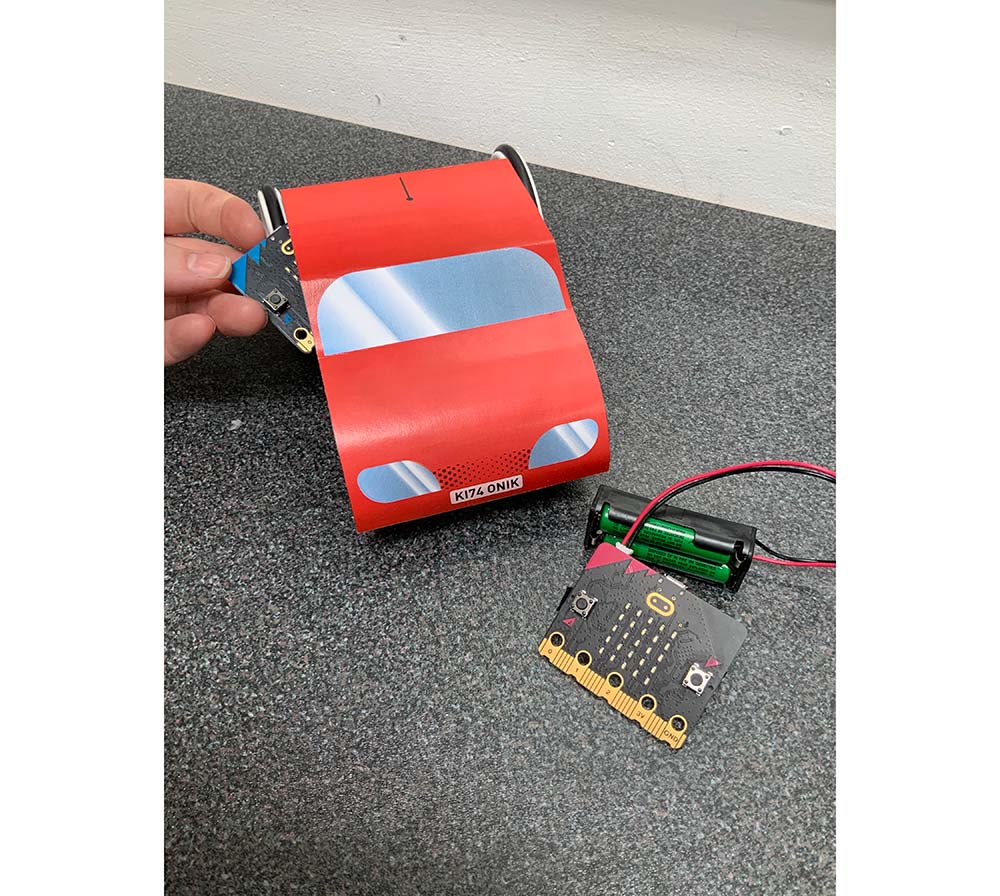
Step 4 – Adding the :CREATE Simple Servo Board:
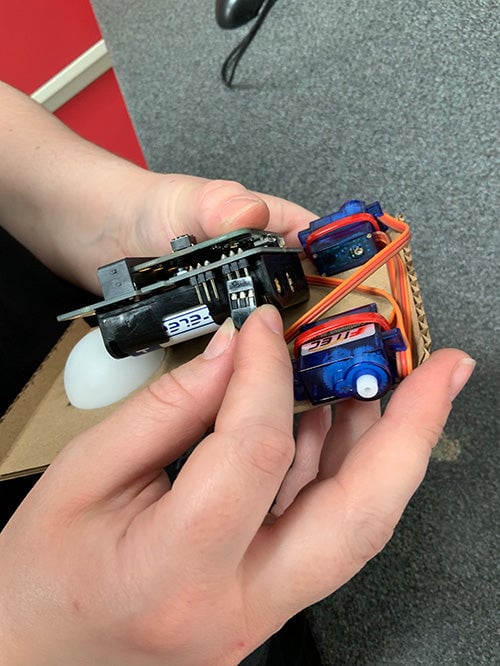
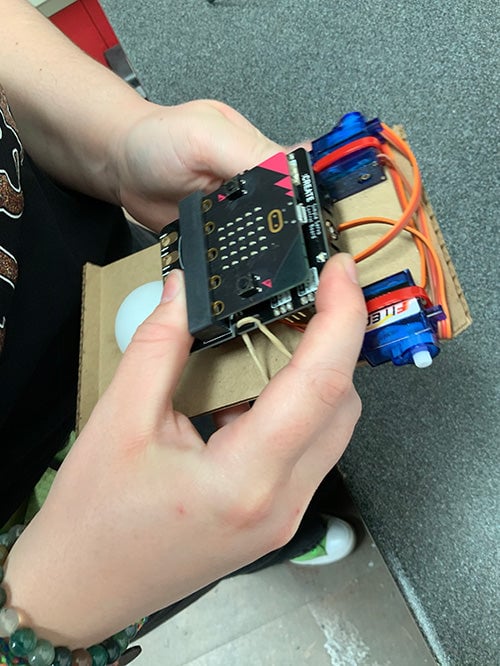
Attach the servo leads to the :CREATE Simple Servo Board and make a note of which side is plugged into which numbered servo output. Insert batteries, and then use an elastic band to hold the board against the base.
Step 5 – Wheels and servo setup:
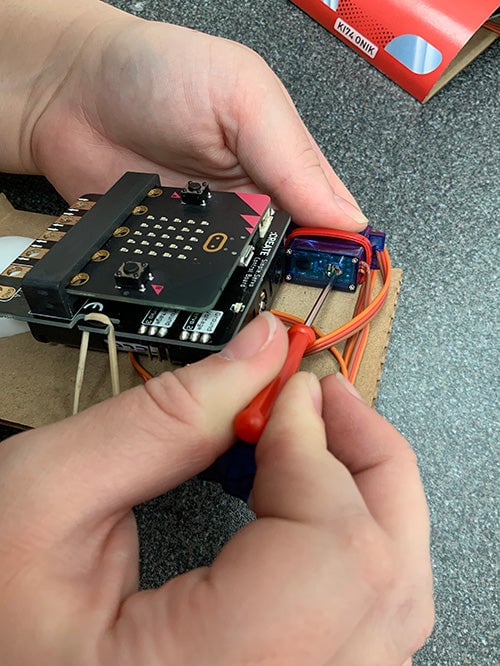

Before you screw the wheels on, simply push them on to the output shafts and make sure your continuous servos are adjusted to go at the same speed. This can be done by adjusting the small screws on the back of the servos, as per this blog.
Step 6 – Decorations:
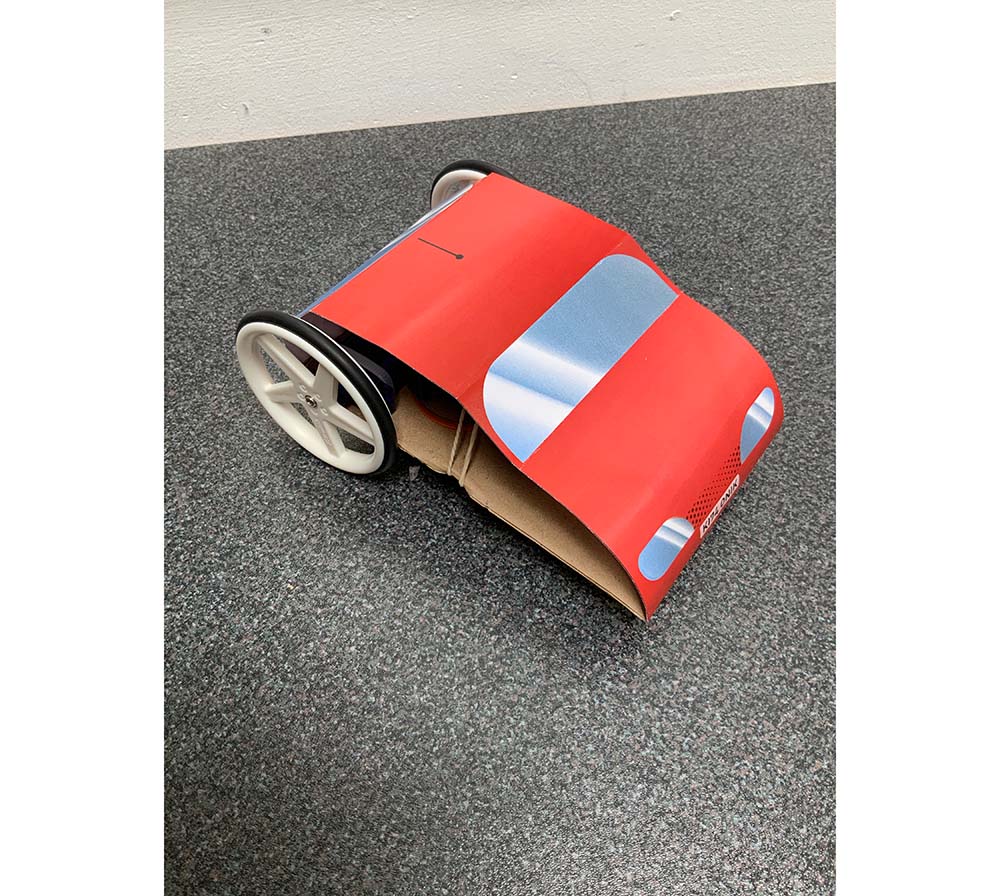
Once all the hardware is in place, the decorative printed body can be glued to the front and back of the base.
Step 7 – The Code
Code your micro:bits! This make uses two: one as a remote and one to output the signals as motion on the servos.
This code outputs different numbers via the radio from the remote micro:bit which the micro:bit in the car receives. This second micro:bit receives the numbers from the remote micro:bit, and depending on the number received the servos will perform a particular action (or the buzzer, in one case).
Once coded, the remote micro:bit can be powered using a small battery cage with a jst connector. You can edit the speeds of the servos to your preference!
Step 8 – Plug in and test:
Plug the car’s micro:bit into the edge connector on the Simple Servo Board, turn it on, and start driving!