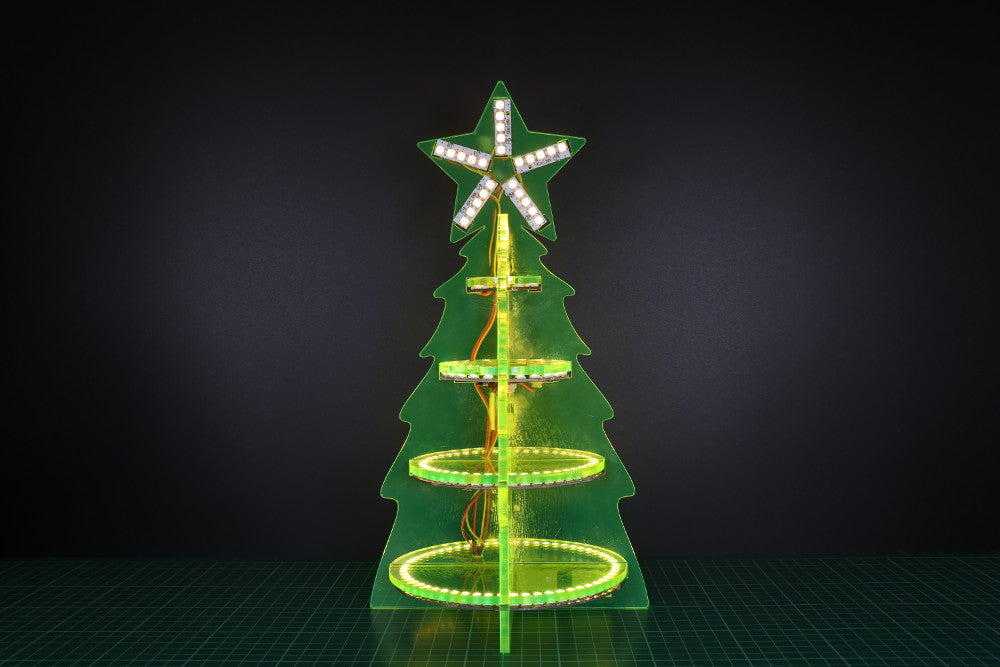
For day eleven of our 12 Makes of Christmas we made a ZIP Halo Christmas Tree. Follow our step by step guide and make your own. This is quite an involved build as there is a reasonable amount of soldering and wiring.
We’ve included the DXF files for your laser cutter and a HEX file for controlling the lights. Both can be downloaded via the ‘You WIll Need’ section below. Let’s get making!
You Will Need:
- 4 x Medium ZIP LED Arcs.
- 4 x Large ZIP LED Arcs.
- 1 x ZIP Halo.
- 1 x BBC micro:bit.
- 1 x Zip Circle.
- 5 x ZIP Sticks.
- 1 x 4xAA Battery pack.
- 5mm Perspex sheet of your prefered colour.
- Our laser cutter files, download here.
- Two code examples, download here.
ZIP Halo Christmas Tree:
Step 1:
Solder the Zip Arcs together to make 2 different sized rings.
Step 2:
Slot all of the components into place, starting with the Zip rings and Halo.
Then slot the circular pieces in, making sure the holes on the Halo sized piece line up, giving access to the switch. The Halo should be angled 45° with the switch accessible from the front. The holes in the other pieces should all line up with the right side hole in the Halo.
Slot the two tree-shaped panels over the other components to complete the tree shape. Do not glue until after the wiring has been done. An elastic band works great to hold it together for now.
Step 3:
Attach some wires to each Zip Stick and thread through the square holes provided. NOTE: Using right angled pin headers can make this step much easier.
Wire the Zip Sticks together as shown – they only work one way so make sure the wires come from DOUT to DIN on each one.
To attach the Zip Sticks to the star of the tree use ten M2x6mm screws in the holes cut out.
Step 4:
Wire up the rest of the components in the following order: Halo, large Zip ring, small Zip ring, Zip sticks, Zip circle.
Thread the wires through the holes provided to keep neat.
Step 5:
Use a JST cable to add your power source. Thread the wires through the same holes to the bottom.
Solder the JST wires to the battery and test.
If all of the electronics work properly, begin glueing together. Use as little glue as possible.
Step 6:
Get coding and see what effects you can create! Below are two separate lighting effects. The first is a white light effect and the second is a green light effect.
The white lighting effect, download it straight to your microbit or click the ‘Edit’ button to modify the code to your liking.
The green lighting effect, download it straight to your microbit or click the ‘Edit’ button to modify the code to your liking.
This concludes day eleven of our 12 Makes of Christmas resources, If you missed any along the way, you can find the rest of our Christmas Makes, here.


