
Printed Circuit Boards (PCB) are made from layers of fibre glass and copper, glued together. Whilst the glues used are very heat resistant it is possible to overheat a PCB and damage it. Kitronik PCB designs use large tracks and pads to help make this a rare problem, the larger amount of copper helps to dissipate the heat.
If a PCB is overheated the most likely outcome is that the copper layer will de-laminate from the fibre glass board. This usually leads to broken joints and a non-working circuit.

It is possible to repair some faults using adhesive copper tape and solder.
Remove as little of the damage as possible to get back to a sound track. Cutting through the damaged tracks with a sharp knife will help to limit additional damage during removal.

Scrape a little of the solder resist off with a knife, sharp screwdriver or fine sandpaper. Ensure that the exposed track is clean and shiny. It is also a good idea to clean any residual burnt PCB material off, to allow the tape to stick well.

Stick on some of the copper tape. Overlap the existing track very slightly.


Carefully solder the joint(s) where the repair has taken place. Most copper tape adhesive melts at soldering temperatures, so be quick and use as little heat as possible. When the tape cools the adhesive will usually remain sticky.

Rub over the pad area with a hard, rounded item, such as the none writing end of a Biro. This will push the copper tape down over the pad area. The pad hole will show through the tape, and can then be pierced with a component lead, paper-clip, or similar.

The component can then be fitted and soldered in the normal manner. Keep the heat input form the soldering as brief as possible, as the adhesive and the additional joint attaching the new pad are sensitive.

The Copper tape can be cut to size with scissors, craft knife etc. Once a repair has been made it is also possible to trim the excess tape. If this is done exercise caution, as the repair is more fragile than the original PCB track, and may become unstuck again.

| Lesson No#. | Lesson Name. | Description. |
|---|---|---|
| Introduction. | If you’re new to soldering our Soldering School will have you up and running in no time. | |
| 1 | Soldering Equipment Explained. | A quick guide to the basic tools you’ll need before you start. Includes a video explanation of some tools. |
| 2 | How to Clean your Soldering Iron (Tinning). | An explanation of why we need to clean the tips and a step by step guide. Includes a video guide to tinning. |
| 3 | How to Solder in Ten Easy Steps. | A practical guide to getting started soldering. Includes a troubleshooting guide and examples of good and bad solder joints. |
| 4 | De-Soldering Demystified | A guide to removing solder. Includes a video demonstration. |
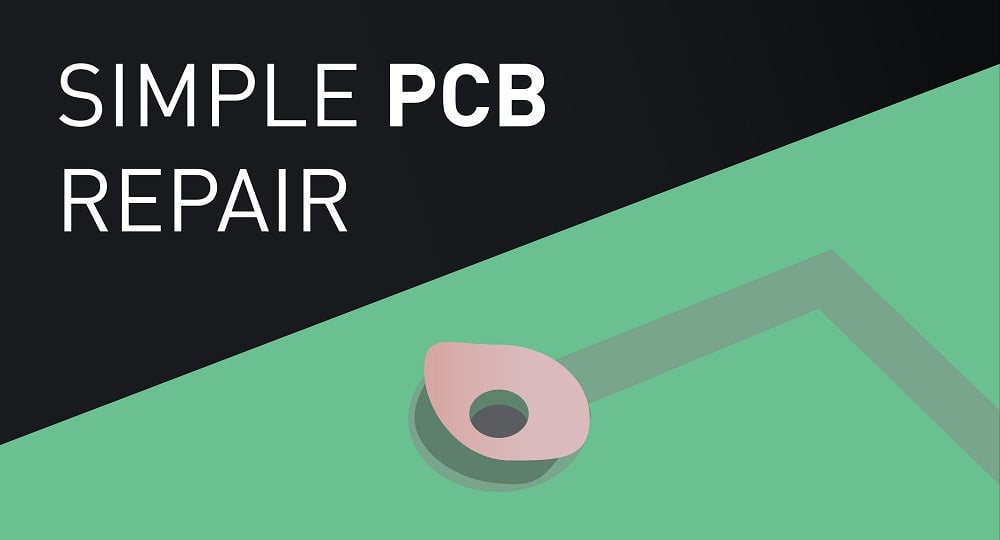
| 5 | Simple circuit board repair. | Sometimes a pad might get damaged on your board. We show you how to fix it in this simple to follow guide. |